My Turnip Merge Quest: Setup, Device, and Build
Leaving the Shire

Probably this post will be long, so have patience with it e.e. My plan for this post is to share my setup and help you to leave everything ready to develop comfortably on Turnip, and this also means connecting with other developers/communities that will help us through this journey (by gathering info and help), how to configure and leave the hardware prepared for development, and also how to set up Turnip.
My objective for this series is to document my own journey in hopes that it might help others along the way. This is not a tutorial/manual on the ‘best’ way to do things. It’s just my personal experience. I hope it helps you find your own path :)
Communication

Image from Sandra Tan - Unsplash
First things first, we need to connect with the people working on the project obviously! I think one important aspect of working on an OSS project is to get involved and participate, so that’s what we’ll try to do.
These are the communications means that I found, but please if you know any other, share it with me and I’ll update the list.
IRC
I won’t get into details since there are a lot of better tutorials for that. But, basically it’s a text only chat, where you need an IRC client to connect to any network. In my case, I use Halloy, which works great.
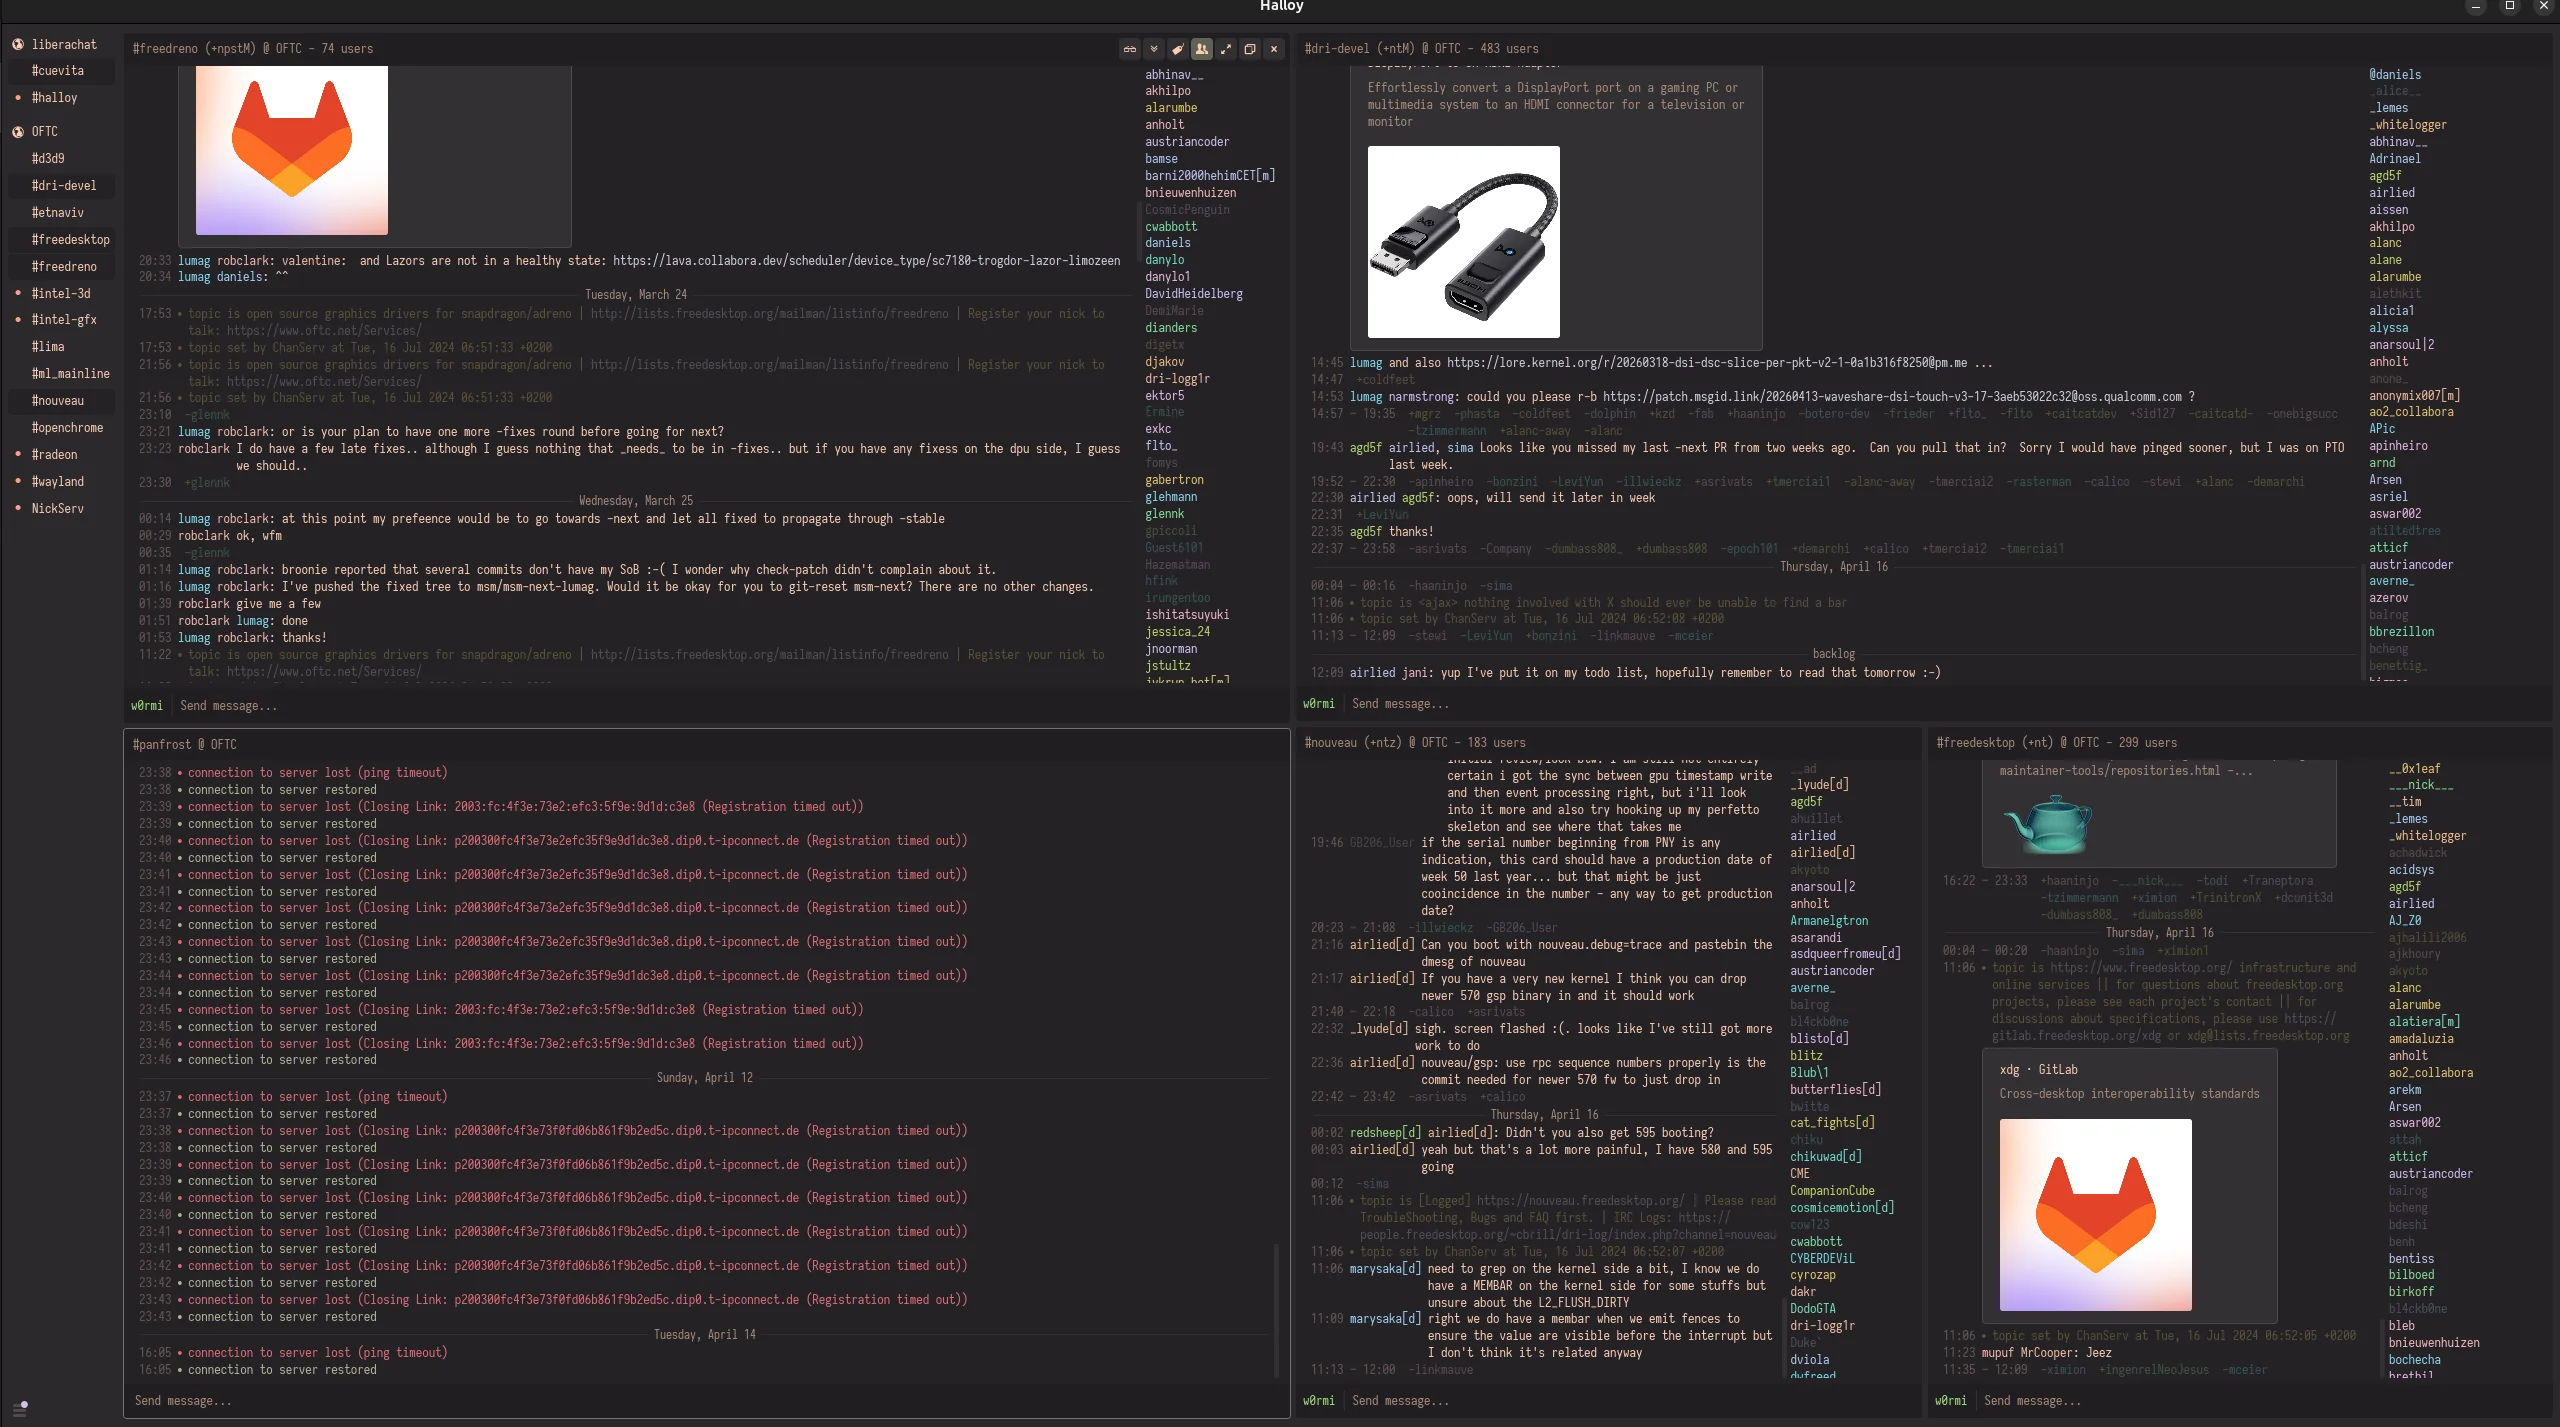
Halloy
The server and channels used by or relevant to the Turnip developers are:
| Server | irc.oftc.net |
|---|---|
| Channels | freedreno && dri-devel |
To find old chats, you can check this website:
Also, there is an app that you can install on your Android device.
Mailing List

Image from Leksandr Gamaniuk - Unsplash
It’s a subscription mailing list in which you can ask and answer questions. The discussions will be received weekly(?) by all the the developers subscribed. I think it’s relevant to know the latest discussions and also to ask for help if needed.
More info here:
To find old messages, you can check this website:
Learning Resources
Here are the resources that I found related to Turnip that will help us along the way:
Official Documentation and Code

Image from David Nitschke - Unsplash
Obviously the most important documentation is the official one. Sadly, it has some outdated information, but it is nevertheless still very relevant.
Tutorials
These were the ones that I could find:
Danylo Piliaiev Tutorials
Extremely helpful and also they are made by one of the main developers of Turnip. In their blog, they share info on how to debug Turnip.
Lucas Francisco Fryzek Tutorials
Same, very helpful tutorials, in this case made and shared by Lucas, another important developer from Igalia.
Conference Speeches
As I already shared on this post, there are several conferences related to the graphic stack. Those talks will help us a lot along the way. Please refer to my old post to find out more.
Preparing the Android Device for Turnip

Image from Calvin Wise - Unsplash
You have two options for using Turnip on Android: either you use it internally through an emulator, or you use the driver in the whole OS. The latter option is better since debugging through an emulator would be painful.
Changing the graphic driver in our Android OS is not so easy as in Linux, but neither it is too hard (for now…). I’ll share what I did to leave my tablet ready for using Turnip.
Rooting the Android Device

Image from Vanna Phon - Unsplash
We need to root our device to make the OS use a different graphic driver instead from the proprietary one that comes with the device, which means that we need to “modify” OS files or trick the system so that it uses other files, which I’ll explain further.
Unlocking the Bootloader
Before rooting our device, we need to unlock the bootloader. I can’t explain the process specifically, since depending on your device the method will differ, and also doing this is not possible on all Android devices. It depends on the manufacturer. They need to allow OEM unlocking. In my case, OnePlus is very friendly to bootloader unlocking, so I didn’t have any problem. So, I’ll explain what I did.
Please, you need to know that unlocking the bootloader will trigger a factory reset (it will wipe all data) and may disable high security apps like banking apps, so do it at your own risk. My recommendation is to not use your daily device for this kind of development.
Without going into details the general steps (which may differ in your case) were these:
- Unlock the Developer Options in your device (if you haven’t already).
- In Developer Options on your Android: Enable OEM Unlocking (it’s like telling your device “I authorize the bootloader to be unlocked”) and USB Debugging (to send commands to the device from your PC).
- Connect your device using a USB to your PC, and in a terminal:
adb reboot bootloader // to enter into the Bootloader Mode- Once in Bootloader Mode, in your terminal type:
fastboot flashing unlock // On your device, a message confirmation for unlocking the bootloader will pop up -> confirm it.Now that we have our device with the bootloader unlocked, we can root our device :D
Magisk
The easiest and the most common way to root an Android device at the moment that I’m writing this…is Magisk.
In short, it is a systemless tool. This means that it doesn’t need to override the original OS files to make changes, by creating an overlay file system. This is very helpful since if we push some change that produces an error or crash, it won’t break our OS. We can just switch back to whatever state we had before.
In my case, these were the steps that I followed to install Magisk:
-
Search for and download the OTA file specific to your device, version, and region.
- To find the version: Settings -> About Device -> Version -> Here you will find the build number.
- To find the region: At the end of the build number, you will see one of of these -> EU/GLO/NA/IN.
It’s just the official software update for your device. Depending on the manufaturer, you will have to find it on their website. Inside, it contains all the files needed for updating your device. This includes init_boost.img (the one we need), boot.img (contains the Linux kernel), system.img (the actual Android OS), etc.
Because Magisk needs to inject its code into the device during the startup process, and that process is inside the file init_boot.img. Since we can’t download that file alone, we need to extract it from the OTA. Magisk patches that file, and creates the overlay filesystem that grants the root control.
-
Extract the init_boot.img from the payload.bin inside the OTA, and then send it to your device.
- I used this tool to extract it from the payload.bin:
-
Install the Magisk APK from the official repo and select the init_boot.img that you already sent.
- In this step, Magisk will add the “root access code” to the init_boot.img and it will repack it into a new file called “magisk_patched.img”
-
Move the file generated by Magisk to your PC and flash your device with it.
adb reboot bootloader // to get into the Bootloader Mode fastboot flash init_boot magisk_patched.img fastboot reboot -
Done :D, check that in the magisk app it says Installed.
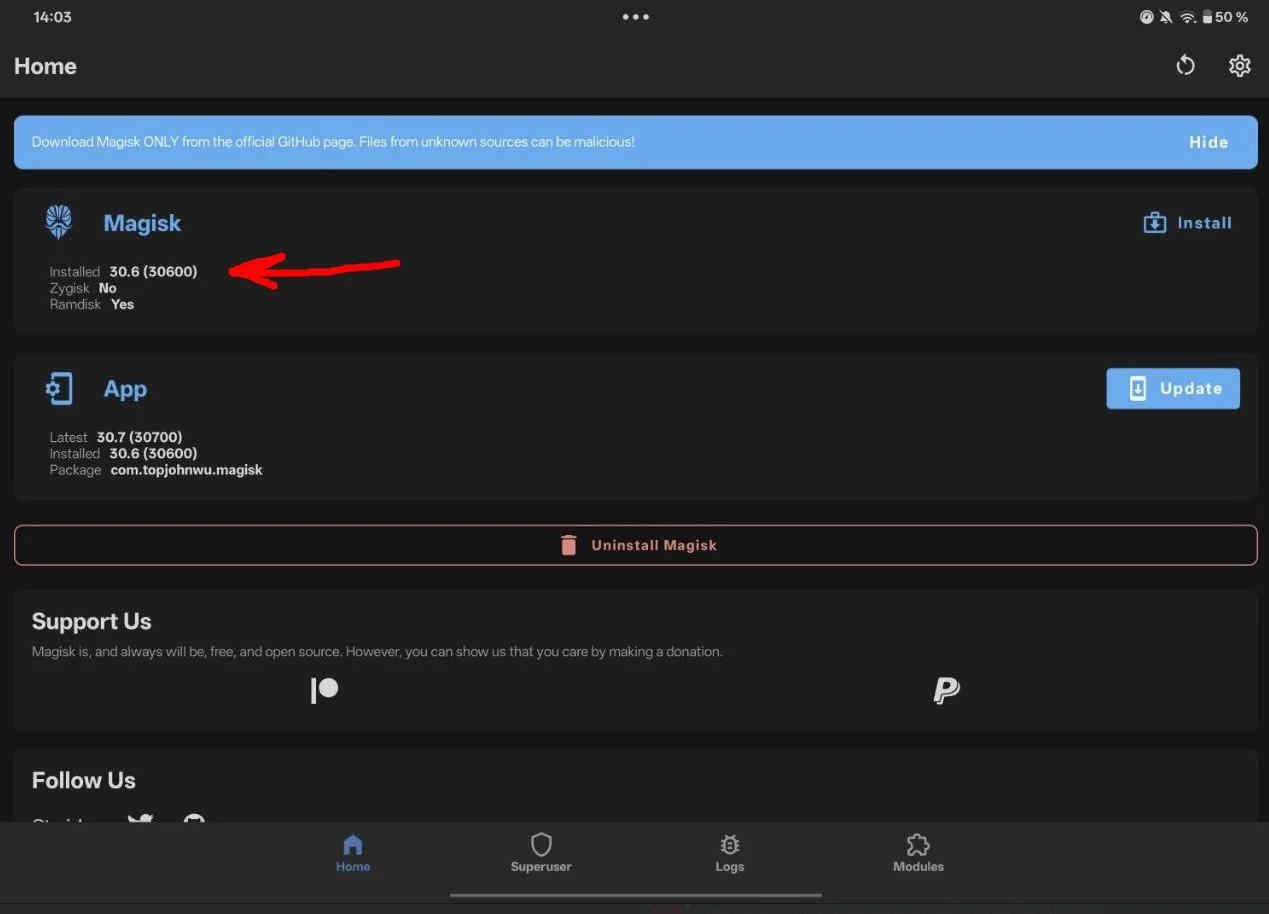
Image from w0rmi
Configuring Android

Image from Mohamed Nohassi - Unsplash
Depending on your manufacture and your Android OS version, you probably have different settings that may limit your device because of the battery usage. For example, your device might not be using the highest performance possible, or it may be limiting the refresh rate, etc.
While debugging or testing, we need to use our device at its maximum capacity. To do that, we need to activate or deactivate some settings. I didn’t find much information regarding this, but I assumed that it’s better to have everything unlocked, so here I share what I did. Also, I want to share some very helpful apps for debugging.
Maximizing Hardware Performance
These were the settings I changed:
- Refresh Rate: Activate the max option in the settings.
- Battery Mode: Change it to use the “High Performance Mode” in the settings.
- RAM Expansion: Deactivate it to use just the physicall RAM. Using the virtual one may produce issues with Turnip.
Helpful Apps
- Vulkan Caps Viewer: This is a very helpful app that tells use everything about our Vulkan driver, such as available extensions, apiVersion, driver version, etc.
- MiXplorer: You can use this one or any other Android file explorer (that supports root access). We’ll use it in the future to navigate though OS files that you can only be accessed with root permissions.
- Termux: It’s a terminal emulator for Android.
- Magisk: Already explained.
For starting, these are enough. In the next post, I’ll share some more tools that we’ll use for debbuging (e.g gfxrecon-replay, winlator, etc) and explain how to install and use them.
Installing Turnip on your Android Device
We are almost there! To get Turnip running on our device, we need to do 2 more things: build Turnip and ship it to our device via a Magisk module.
As we already know, Magisk allows us to give root access to apps and make systemless modifications. These systemless modifications are done through modules. In this case, we’ll pack our Turnip .so file into a Magisk module to force the OS to use it instead of the proprietary driver.
Building and Injecting Turnip

Image from Tracey Parish - Unsplash
Since we plan to work with Turnip, obviously we need to learn how to build it! There are already tutorials and scripts of how to do this, so I won’t get into much details. I don’t see the point of repeating something that is perfectly explained e.e. However, I’ll write an overview of what you need to do and also share the resources that helped me.
It’s important to notice that I’m using Ubuntu for this, so the steps may differ from yours!
Prerequisites
- Download Mesa… duh!
- Download the Android NDK: Use the latest, it doesn’t have to match the Android version of your device, as that will be adjusted during the building process.
The NDK is basically a toolset that allows us to implement parts of Android applications using native code languages like C, C++, and Rust, and also gives us tools for cross-compilation.
Well, Turnip belongs to Mesa, and Mesa is written in C and C++ mostly, which means that we need the NDK to compile that C/C++ code into a .so file (libvulkan_mesa.so).
Because you are likely building the Turnip driver on a x86_64 PC, but your Android device uses an ARM64 processor (probably). Because there are different architectures, you need to translate that C/C++ code into instructions that the ARM processor can actually execute.
- Install all the library dependencies: Make sure to install all the dependencies specified in the links attached below.
Steps
Already having all the prerequisites, these are the steps for building it. If you need more details, please see the links attached in the resources section.
- Create a Meson cross-file: This file tells Meson where your NDK is located and which tools to use instead of the Linux standard ones.
- Generate the build environment: Here you specify which driver to build, the cross-file location, and generate the build files.
- Compile the driver: I used ninja to execute the compilation by specifying the build directory to search for instructions (the makefiles).
- Inject Turnip into your Android device: Pack the driver in a Magisk Module and then ship it to the Android device.
- Activate the module in the Magisk app: The device will reboot, and Turnip will be set as the primary graphic driver.
Voila! Now, straight out of the oven, we have our delicious Turnip driver ready for use :)

Image from Anna Ansone - Unsplash
If everything is correct, you should see in the Vulkan Hardware Capability Viewer App that it says Turnip :D
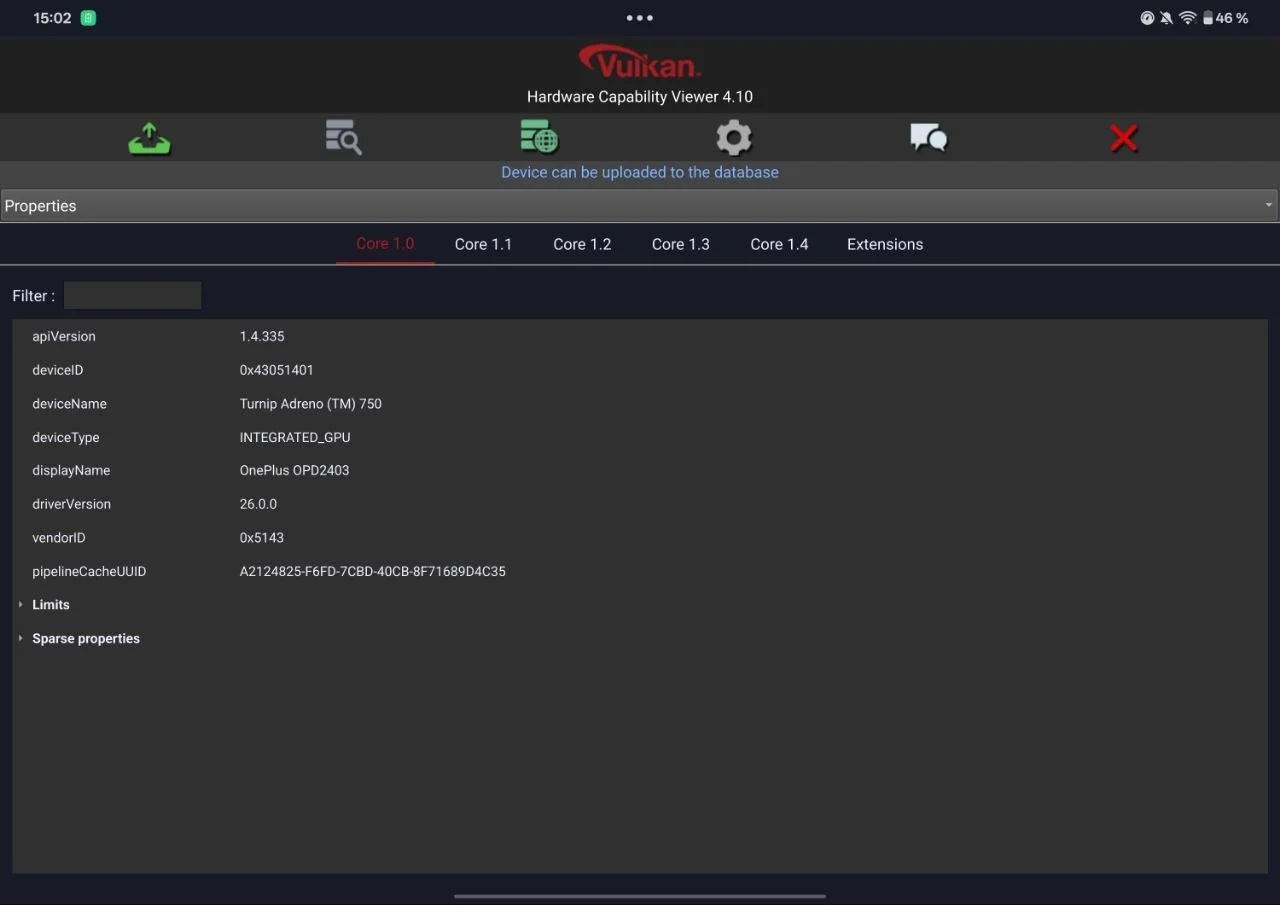
Image from w0rmi
Resources
- İlhan Atahan - Script for building turnip driver as a magisk module from mesa repository.
- Shankar Vallabhan - Script for building Freedreno Turnip Vulkan Driver as a Module for Magisk or Emulators.
- Lucas Fryzek - Freedreno on Android.